The complete, practical, no-fluff guide to choosing the right embroidery stabilizer—every time.
If you’ve ever wondered why a design puckered, shifted, or lost its shape after washing, the answer is almost always the stabilizer. This resource is built to be your single source of truth for machine embroidery stabilizers in 2026—covering types, weights, fabric matching, real-world use cases, and expert techniques used by professionals.
What Is an Embroidery Stabilizer?
An embroidery stabilizer is a support material placed under or over fabric during stitching to prevent distortion, stretching, and movement. The right stabilizer ensures clean outlines, even satin stitches, and long-term durability—especially after repeated washing and wear.
In short: Fabric alone isn’t enough. Stabilizer is what makes embroidery look professional.
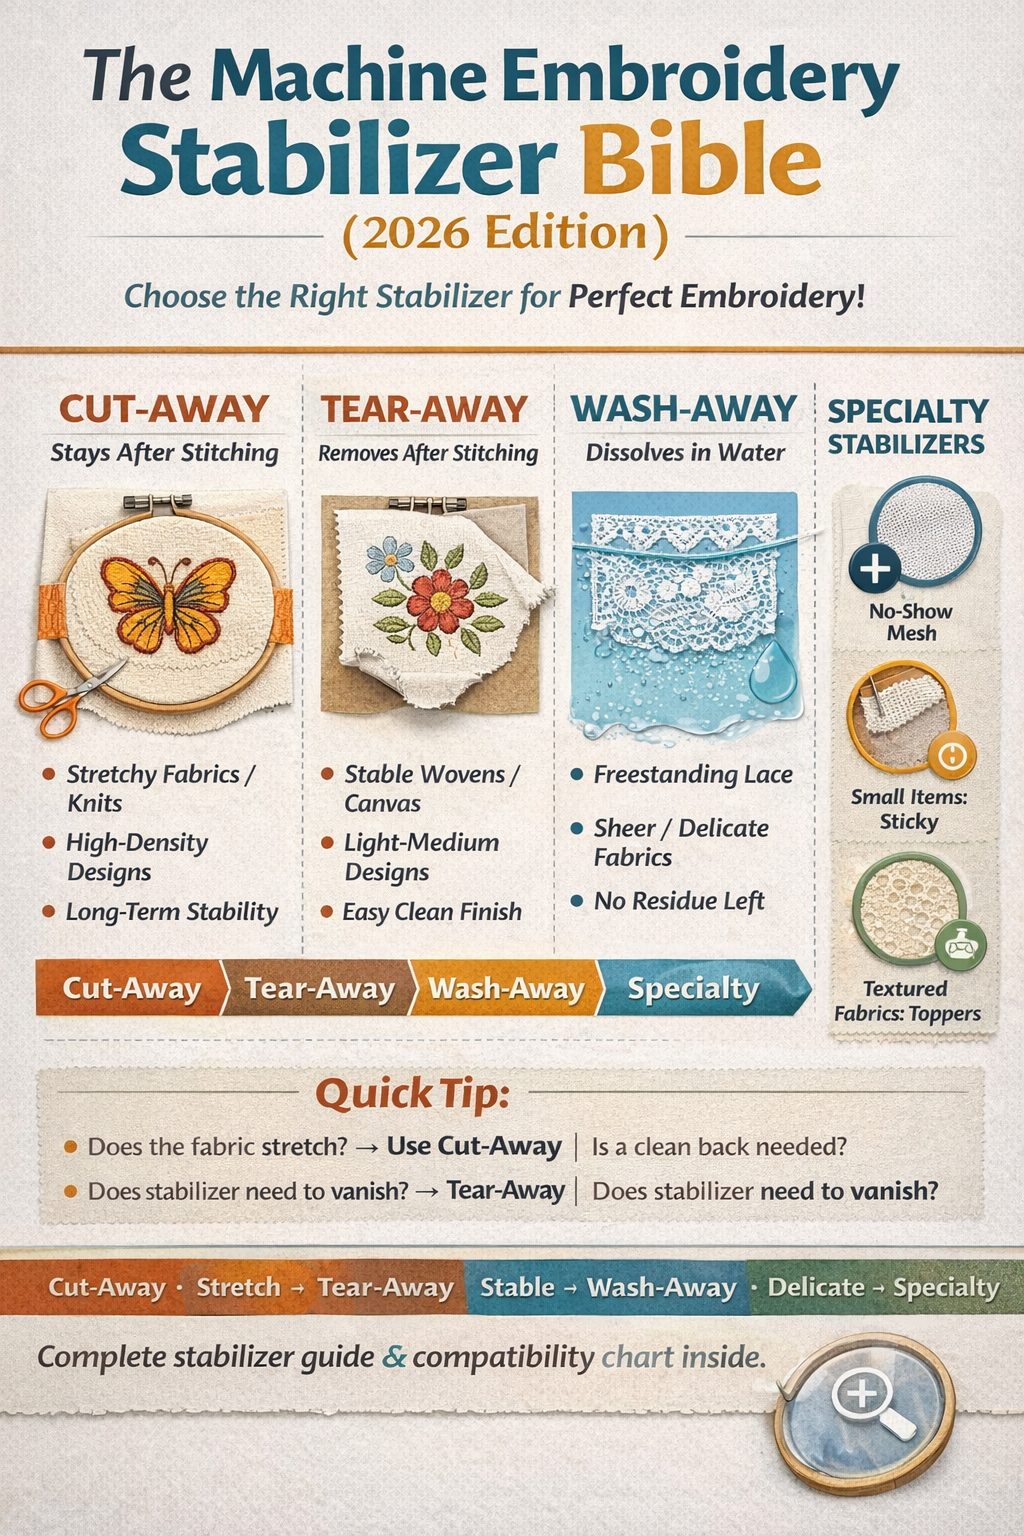
The 3 Core Stabilizer Types (You Must Master These)
1. Cut-Away Stabilizer (Permanent Support)
For a deeper comparison of stabilizer types and when to use each one, read Cut-Away vs Tear-Away vs Wash-Away: Which Stabilizer Should You Use?.
Best for: Stretchy fabrics, knits, high stitch counts, garments that will be worn and washed often.
How it works: Excess stabilizer is trimmed away, but a layer remains permanently behind the stitches, maintaining shape over time.
Ideal fabrics:
- T-shirts & polos
Why pros use it: Maximum stability and longevity.
2. Tear-Away Stabilizer (Temporary Support)
Tear-away works best when stitch density is controlled. If your designs feel too dense for tear-away, review our stitch-density and puckering breakdown in how to fix machine embroidery puckering.
Best for: Stable, woven fabrics and low-to-medium stitch designs.
How it works: Stabilizer is torn away after embroidery, leaving minimal backing.
Ideal fabrics:
- Cotton
Why pros use it: Fast, clean removal and efficiency.
3. Wash-Away Stabilizer (Water Soluble)
Wash-away stabilizers are frequently misunderstood. Our stabilizer comparison guide explains when wash-away is essential and when it should be avoided.
Best for: Sheer fabrics, freestanding lace, and projects where no backing should remain.
How it works: Dissolves completely in water.
Ideal uses:
- Freestanding lace (FSL)
Why pros use it: Zero residue and flawless finishes.
Stabilizer Formats Explained
Backing Stabilizers
Placed underneath the fabric in the hoop.
Topping Stabilizers
Placed on top of fabric to prevent stitches from sinking (essential for towels, fleece, and velvet).
Adhesive / Sticky Stabilizers
Sticky stabilizers are also covered in our advanced hooping and fabric-control techniques inside the machine embroidery puckering fix guide.
Perfect for:
- Hoops that leave marks
Fusible Stabilizers
Iron-on stabilizers that add grip and prevent fabric shifting before hooping.
Stabilizer Weight Guide (This Matters More Than You Think)
Incorrect stabilizer weight is one of the leading causes of puckering and edge distortion—both covered in detail in our professional embroidery puckering guide.
| Weight |
Rule: When in doubt, choose stronger support—under-stabilizing causes 90% of embroidery issues.
Fabric-to-Stabilizer Matching Chart
This chart pairs perfectly with our stabilizer comparison resource, which explains why each stabilizer behaves differently under stitch tension.
| Fabric Type |
Advanced Pro Techniques (2026 Updated)
Double Stabilizing
Use cut-away + tear-away for ultra-dense designs or large hoop areas.
Floating Fabric
When hooping isn’t possible, float the fabric on sticky stabilizer for precision.
No-Show Mesh Cut-Away
A must-have for light-colored garments—strong support without visible backing.
Grain Direction Matters
Align stabilizer grain perpendicular to fabric stretch for maximum control.
Common Stabilizer Mistakes (And How to Avoid Them)
Most of these mistakes show up visually as puckering, fabric pull, or warped outlines—symptoms explained step-by-step in how to stop fabric puckering in machine embroidery.
- Using tear-away on stretchy fabric
Fix: Match stabilizer to fabric behavior, not design appearance.
Commercial vs Personal Use: Does Stabilizer Choice Change?
Yes.
For commercial embroidery, always prioritize:
- Cut-away support
For personal projects, tear-away and wash-away may be sufficient depending on fabric.
Stabilizer FAQ (Quick Answers)
Can I reuse stabilizer?
No. Once stitched or torn, structural integrity is compromised.
Is thicker always better?
Not always—but too thin is almost always wrong.
Do I need stabilizer for every design?
Yes. Even simple designs require stabilization.
Final Rule of Thumb
Stretchy fabric → Cut-Away
Stable fabric → Tear-Away
No backing visible → Wash-Away
Master stabilizers, and your embroidery quality will instantly level up.
Next step: Explore Embroidize’s professionally tested embroidery designs—digitized with stabilizer performance in mind. Start with our latest 2026 embroidery design collection, optimized for clean stitching and stabilizer efficiency.